USER GUIDE: Quick Start – Website Setup
Quick Start – System Overview Quick Start – Properties Setup Quick Start – Website Setup
WEBSITE SETUP STEPS
Follow the below steps, in the order presented, to quickly set up your account. Because Reservation Key is built on the model of a few main sections linking together many options that are set in different screens, if you follow these steps, in this order, you will minimize how much switching between screens you will need to do. If you have not already done so, first follow the Properties Setup Guide.
- Add Website Messages
- Configure Payment Methods and Schedules
- Configure Email Templates and Schedules
- Add Discount Codes, Custom Fields, & Items For Sale
- Finally, Add Reservation Pages
1. Add Website Messages
This section contains all the messages that will appear on your reservation pages. If you plan on creating several reservation pages (such as a different page for each property you manage), and want different text to appear on each page, then you will need to set up different messages for each of the pages.
First, click the Website tab.

Next, click Website Messages tab on the left side of the screen, and then click Add Message (or edit the defaults that came with your account).
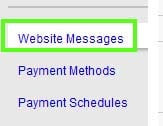
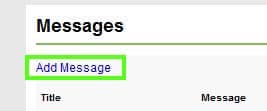
Add as many messages as you think you might need. Be sure to give the message a descriptive title so that it will be easy to select the correct message when linking to it from your reservation page setup. Examples could be Header – Tahoe Condo; Header – Paris Flat. If you want to add images to your messages, you can upload images to the system in the edit message section.
2. Configure Payment Methods and Schedules
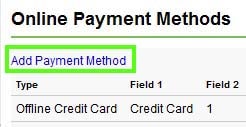
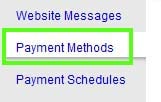
We offer several ways to take payments through your website, and plan on adding more (if your preferred method is not listed, send us a request to add it). Click Payment Methods, and then Add Payment Method.
Add as many payment methods as you plan on needing. For example, you may manage different properties, and want to use a different PayPal account to handle payments for each property. In this case, you would set up a Payment Method for each of the properties, each with its unique PayPal address.
If you use the payment method titled Offline Credit Card, your guests will be presented with fields to enter their credit card information, but you will need to process payments manually.
Once you have entered your payment methods, click Payment Schedules and then click Add Schedule (skip this step if only using Offline Credit Card method).
Enter a description that will be easy to find when linking to it (such as Paris Flat Payments). Configure what payments are required after what triggering event. If you wish to automatically schedule these payments for reservations you add manually to the system, select Yes for the Use For Internal Reservations question.
3. Configure Email Templates and Schedules
Next set up automatic emails that will be sent to guests through the system. Click Email Templates and then Add Template (or edit the defaults that came with your account).
The five types of messages you may want to add are:
- Reservation Request – message that goes out immediately following a new reservation through your website
- Payment Made – messasge that is sent following an online payment
- Payment Due – message that is sent when a payment is due
- Reservation First Day – message that is sent X number of days BEFORE the first of a reservation
- Reservation Last Day – message that is sent X number of days AFTER the last day of a reservation
Place the codes on the right side of the page in your message to enable mail merge type sections (code will be replaced with corresponding data when message is sent).
Once you have set up your messages, click Email Schedules, and then Add Schedule, to create a schedule which will determine when your messages are sent. Link your previously created messages to each of the triggering events you want to use.
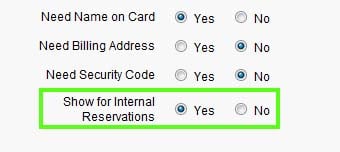
If you wish to automatically place these emails in queue, based on this schedule for reservations you add manually to the system, select Yes for the Use For Internal Reservations question.
4. Add Discount Codes, Custom Fields, & Items For Sale
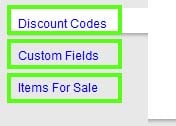
If you plan on offering any discounts, asking custom questions on the reservation form, or selling additional items, complete each of these sections by clicking on the corresponding tabs.
5. Finally, Add Reservation Pages
The final step is to link everything together. Reservation pages pull information from what you set up in the Properties Setup Guide, as well as all the items you configured in this guide.
Click Reservation Pages, and then click Add Page.

Select a type of page to add (review the tour and documentation for more details on page types).
Once you have selected a page type, and entered a title and alias,
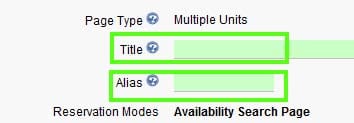
setting up the reservation page is merely a matter of going through the page and linking the different sections you set up previously.
The only sections not previously set up include:
- Reservation Modes – whether or not to show links to additional calendar and reservation page
- Themes – select from an included theme, or create or edit your own
- Tax Exempt – whether tax should not be calculated on reservations made through this page
- Reservation Cut-Off – how close to the current date you will accept online reservations
- Booking Range – how far into the future you want to accept reservations
- Use As Payment Page for Internal Reservations – use look and feel of this page for links to make a payment for reservations entered internally
- Reservation Form – you can customize the default form by changing field labels, turning fields on or off, and setting which fields are required
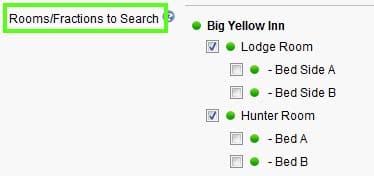
Under Rooms/Fractions to Search, select which rooms and fractions will be searched on this page
Finally, save changes, and then click one of the view links next to your page listing to see your new page.
